The Starry Night

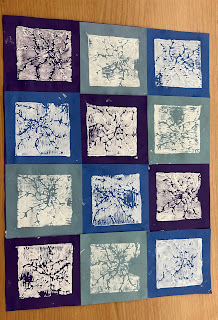
Description - I used The Starry Night as an example to go off of while doing this art project. I used tissue paper to create the 'swirls' that van Gogh used in The Starry Night. I ripped my tissue paper into different sized pieces. I placed the pieces all over the paper and used a clear glue mix to glue them down. I placed a small bit of the glue mix under the pieces, put the pieces over it, then used my paint brush to brush the glue mix over the whole piece of tissue paper. After I got done putting all of my tissue paper on my project, I had to let it sit and dry. While I let it dry, I cut out my landscaping. The landscaping could be any type that I wanted it to, so based off of my colors, I created a desert landscaping. I cut out cactuses and then used green oil pastel to create it spikes. I used brown pastel to create the tumble weeds. Once my project was dry, I glued the landscaping to it and used oil pastel to create the lines across the paper.
Extension Activity - Another activity to go with The Starry Night could be to use paint, sharpie, white construction paper, and q-tips. The students will use the sharpie to create the outline of their project. They would create the wind lines in the sky, the tree, the different buildings, the moon, and stars. They would just outline with the sharpie each of those aspects of their project. When they are done with the sharpie, the students will grab the paint that they want to use and q-tips to go with the paint. The students will dip the q-tips into the paint and make dots with that color of paint wherever they would like to put it. They will need make sure that all of the white area is covered with dots of paint.
Comments
Post a Comment