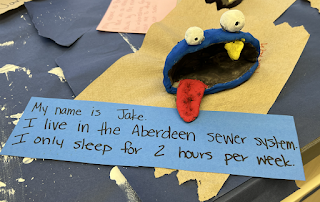
3D Monster

Extentsion activity - Another 3D activity that I would use is paper sculptures. To begin, the students would cut a piece of cardboard square. The square can be any reasonable size that they would like. After the students get their cardboard square, they will roll up different sizes and lengths of paper. The students can make as many circles as they would like, but it has to fill up the majority of their square. The students will be able to create any design that they would like. Some examples are their first initial of their name, a flower, a random design. Once the students have come up with their design, then they will use glue to glue the paper to the cardboard. The paper would stick out from the cardboard to create the 3D design.
Comments
Post a Comment